
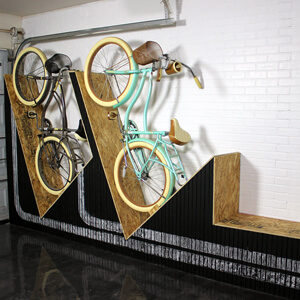
Our latest DIY storage project was to build a wall-mounted bike rack with a bench in our garage to store our bikes.
Operation organize garage/shop is currently underway. We completed making over one wall in the garage with a large DIY storage project so we are making progress.
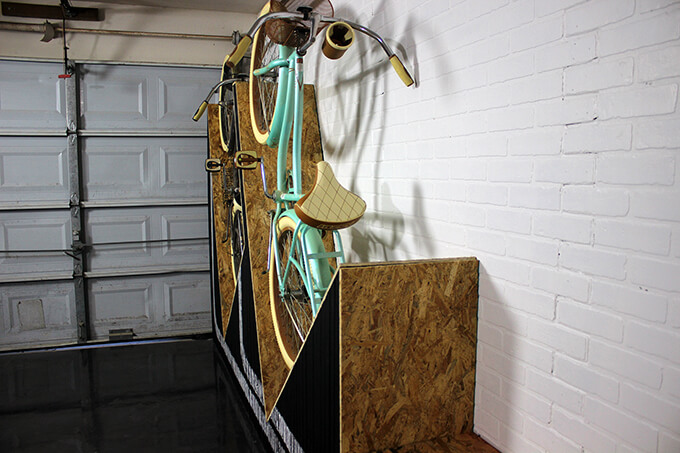
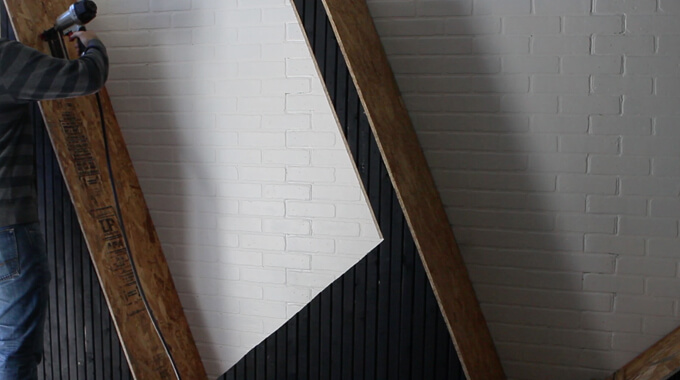
We covered one of the large walls in the garage with more of the faux brick panels. (Like we did in our home gym)
This time we painted the faux brick panels white. We are painting the other walls with Sherwin-Williams Gauntlet Gray.
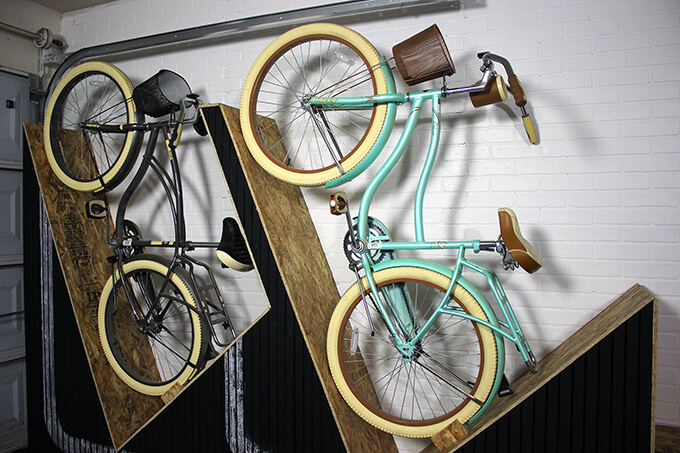
We also finished our wall-mounted bike rack DIY project! We are excited to give you the scoop on how this project came together.
Last year we got bikes for Christmas which have been really fun to ride around our neighborhood and to the park but we didn’t have a great place to store them in the garage.
When planning the design of our bike rack storage project we had the following criteria:
1. The bikes needed to be easy to access
2. The bike rack needed to accommodate two bikes
3. The bike rack needed to take up as little space as possible depth wise
4. The bike rack needed to have a fun design and match the rest of the garage
5. BONUS: The bike rack could have additional functionality of an attached bench
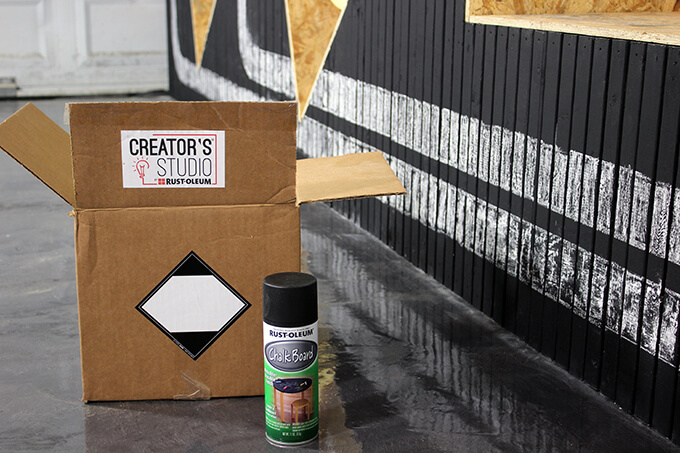
We entered our DIY bike rack project in the Rust-Oleum Creator’s Studio Blogger Challenge. They sent us a box of different types of spray paint and stains and we choose this chalk board paint to use on our project.
Since this was one our “make it up as we go because we don’t have anything to reference” projects, it took a little while to find our groove and some trial and error experimenting.
These types of projects are always frustrating when you are in the middle of problem solving but are always the most rewarding when you see it completed.
Below is our process for building our wall-mounted bike rack with a bench.

How To Build a Wall-Mounted Bike Rack
SUPPLIES
- Chalk Board Spray Paint
- 1″x2″ Pine Boards
- 2″x4″ Pine Boards
- OSB Plywood
- 1 1/2″ Brad Nails
- 2 1/2″ Decking Screws
- Wood Glue
- Circular Saw
- Kreg Jig
- Miter Saw
- Drill
- Jig Saw
- Brad Nailer
FYI: This post contains a few affiliate links to products we used to make this project. Gray House Studio does receive commissions for sales from these links but at no extra cost to you. We appreciate you supporting this site. Read our privacy and disclosure policy. You can also easily shop our recommended products here.
TUTORIAL VIDEO
Subscribe to our YouTube Channel
Like our video? Subscribe and help us reach our goal of 100k subscribers.
STEPS
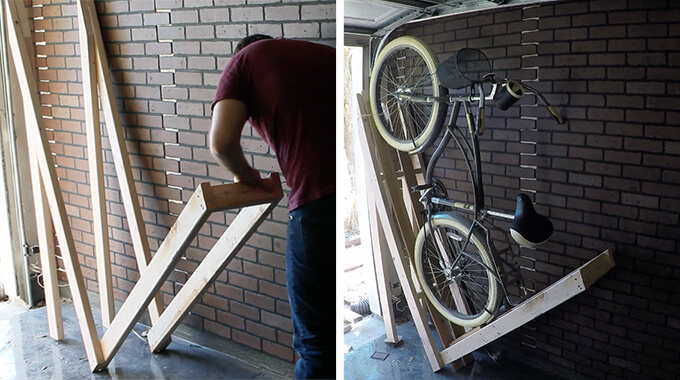
1. To build the bike rack we started by cutting our boards on our miter saw and making two V shapes at a 70 degree angle with 2″x4’s.
Then we connected the V shapes with horizontal braces. This made the structure 16″ wide. After adding vertical 2×4’s to stabilize the V structure, we loaded a bike to check the fit.
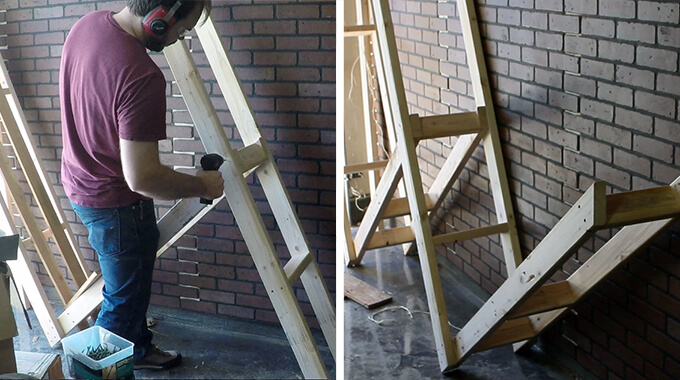
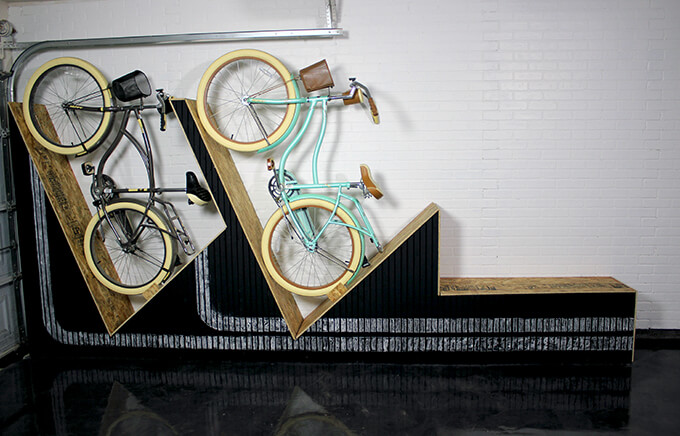
2. Once the bike fit, we created another V shaped structure and used our drill and screws to screw it into the end making a large W shape.
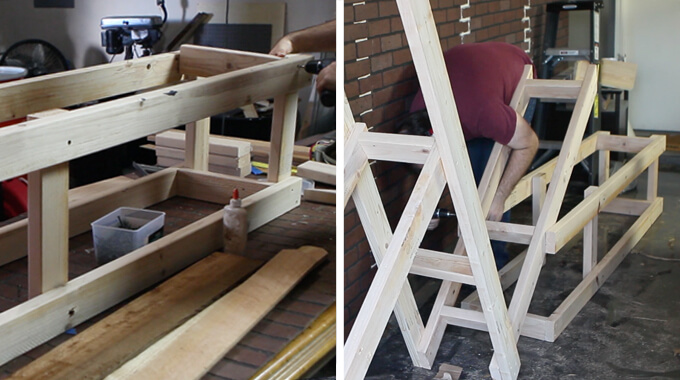
3. We wanted to incorporate a bench on the end of the bike rack so we built a box out of 2″x4″s.
We built the box to be 18″ high and attached it to the end of the W shape with screws.
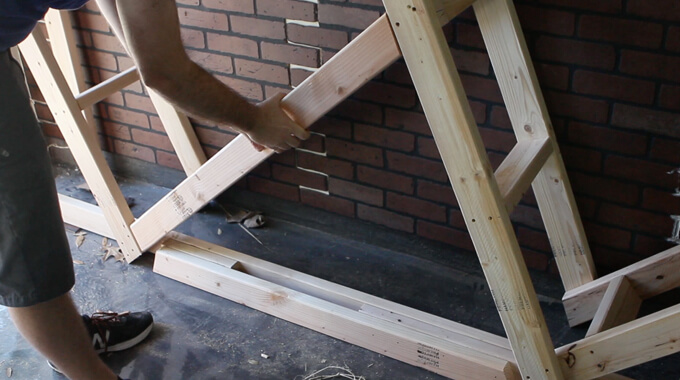
4. Before lining the outside of the bike rack with wooden slats, we attached 2″x4″s to any of the recessed sections of the braces to make one consistent and level surface.
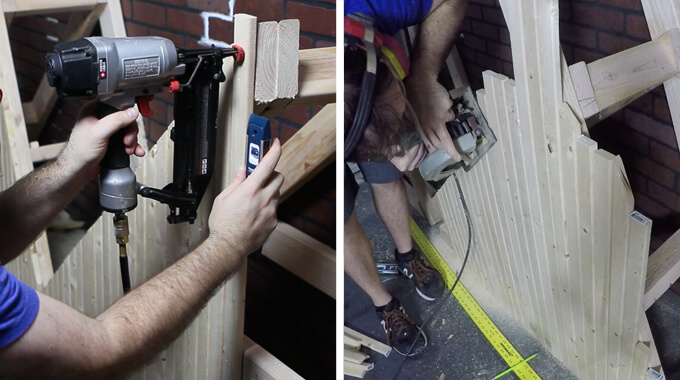
5. We used cheap 1″x2″ pine boards for the slats and cut them to be just longer than the bike rack is tall.
After leveling and attaching each slat with our brad nailer and brad nails, all the boards were cut to the correct height with a circular saw.
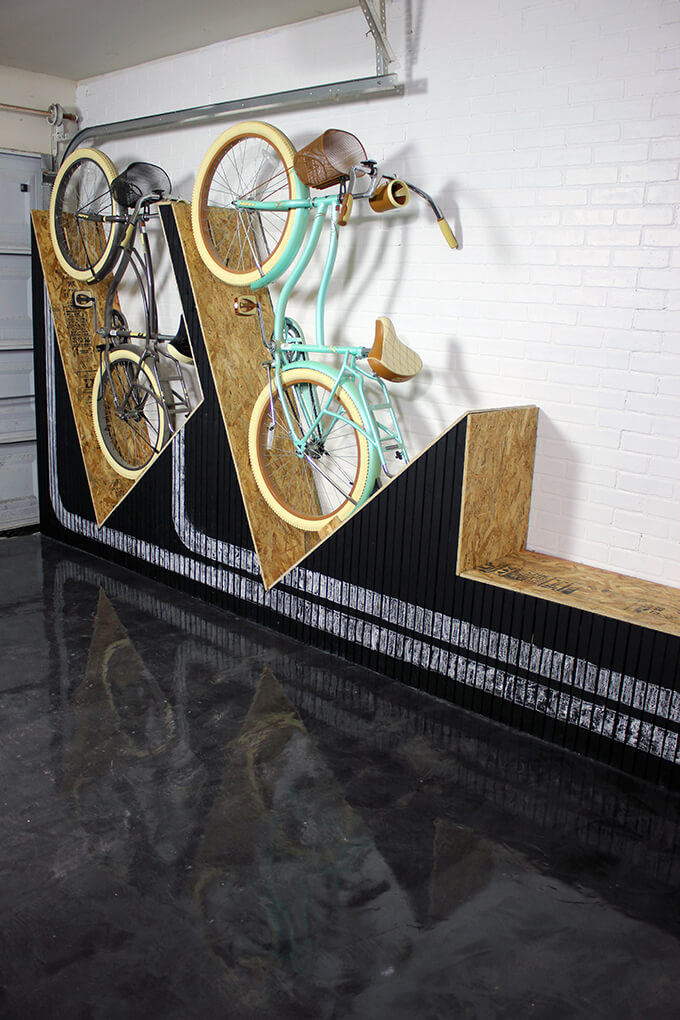
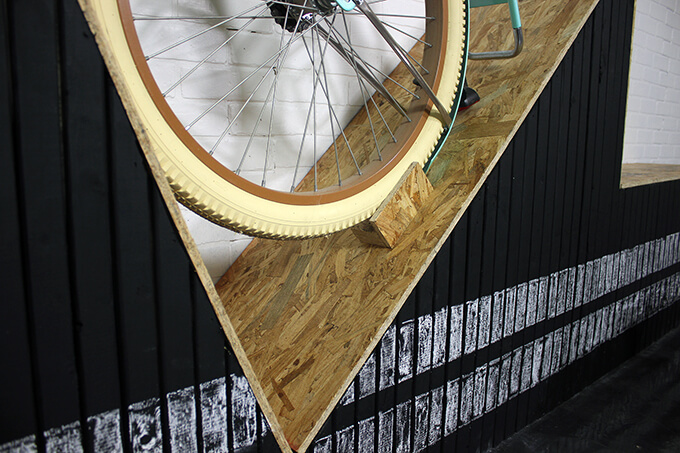
6. We lined the top of the bike rack with OSB sheets. It took three sheets to cover the entire rack and provided a significant cost savings over plywood.
Plus, it creates a unique industrial aesthetic that we were going for with the design.
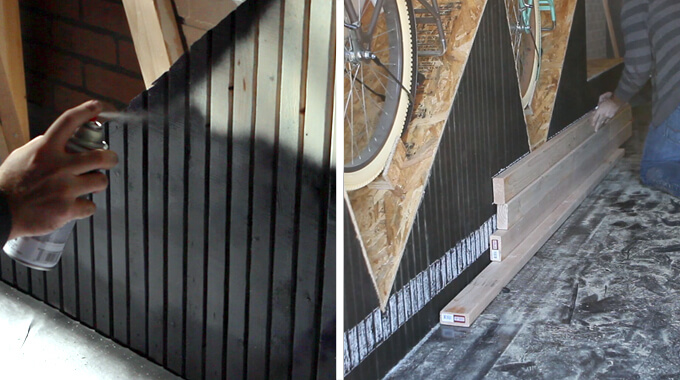
7. Finally, we painted the slats with chalkboard spray paint.
Typically we would roll large surfaces with paint but due to all the gaps between the slats we opted for spray paint and were impressed that it only took two cans.
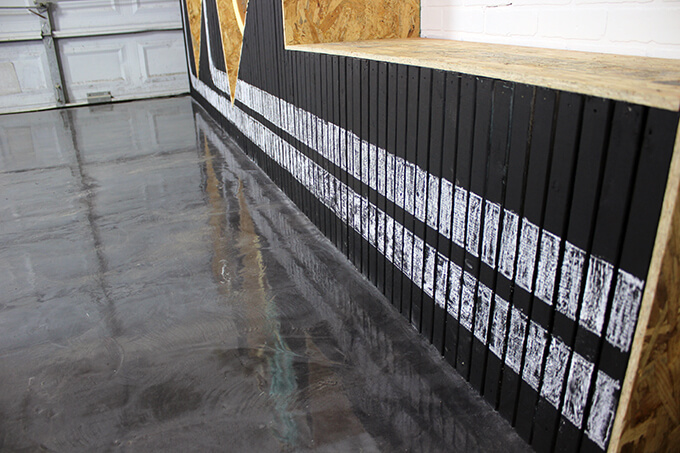
To complete the design, we added two decorative stripes with chalk. Extra 2x4s made for a great straight edge for the lines.
We decided to paint the slats with a chalkboard paint so we can switch up the chalk design and it will go much better with what we have planned for the garage.
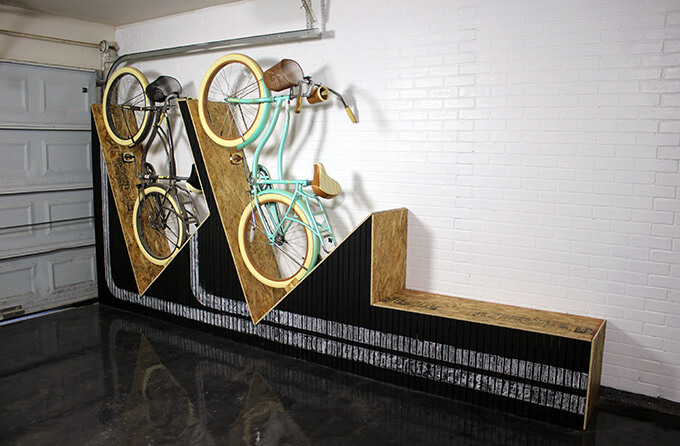
We are happy with the results of our DIY wall-mounted bike rack. We were able to check off all of our must-haves for the project and included the bonus bench too!
I am happy to finally have some seating in the garage and like that it is built in rather than just having a random old chair stuck in the corner!
PIN FOR LATER

Is there a way to add storage underneath in the dead space for bike gear like a helmet and cleaning etc?
That is a great point! We are thinking about adding some hinges to the bench seat to allow us to store items inside the bench. Also, the tall end of the garage door would allow for some storage.