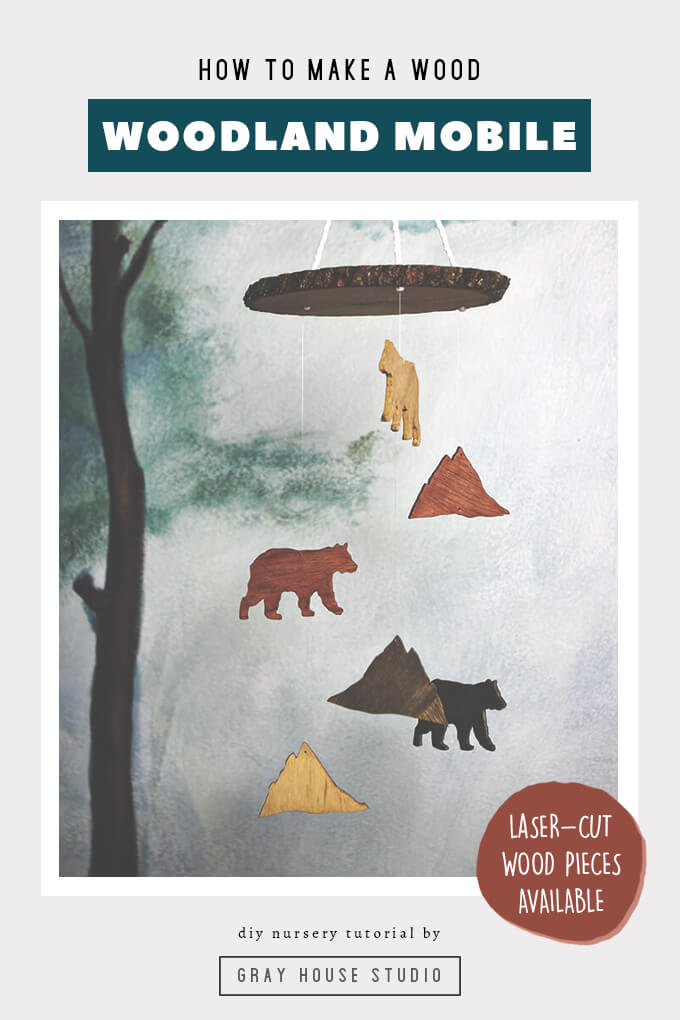
In this DIY tutorial we will show how we made our DIY woodland nursery mobile.

Brent and I have found we love designing nursery mobiles. It’s funny because I never gave mobiles much thought before we had Connor.
There is just something so sweet about designing and making your own mobile that will hang above the crib or on the wall knowing your little one will be looking at it.
While we were working on designing the woodland nursery for Brent’s sister we wanted to make a new mobile that was different from the felt mobile in Connor’s modern outdoor nursery.
We decided this time around we would make the woodland nursery mobile using wood pieces.
Read on to see how we created our DIY Woodland Nursery mobile.
DIY Woodland Nursery Mobile Tutorial
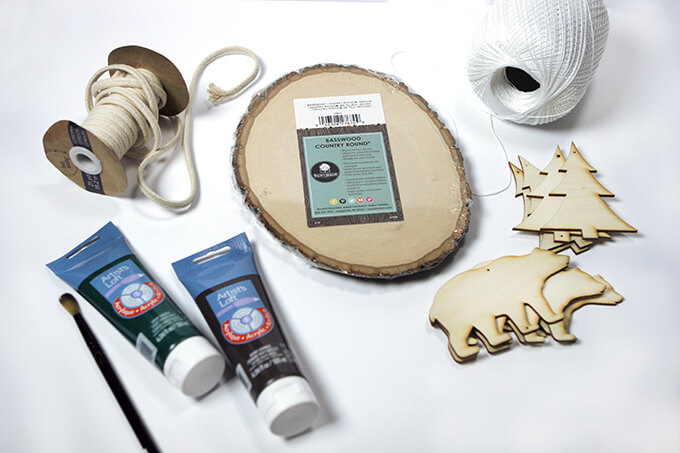
SUPPLIES
Easily shop all the supplies for our DIY Woodland Nursery Mobile project on our Amazon store.
- Wood Mobile Pieces or 1/8″ Birch Plywood and a Scroll Saw
- Wood Slice
- 5mm Cotton Rope
- White Cotton Thread
- Green Acrylic Paint
- Brown Acrylic Paint
- Drill
- 1/4″ Drill Bit
- 1/8″ Drill Bit
FYI: This post contains a few affiliate links to products we used to make this project. Gray House Studio does receive commissions for sales from these links but at no extra cost to you. We appreciate you supporting this site. Read our privacy and disclosure policy. You can also easily shop our recommended products here.
Handmade Christmas 2021 Ornaments

Thanks for supporting our small shop this holiday season!
STEPS
Make the Wood Mobile Pieces
Want to skip this step? Purchase our laser cut woodland animal wood mobile pieces. They come with the option to have us drill the small hanging holes for you!

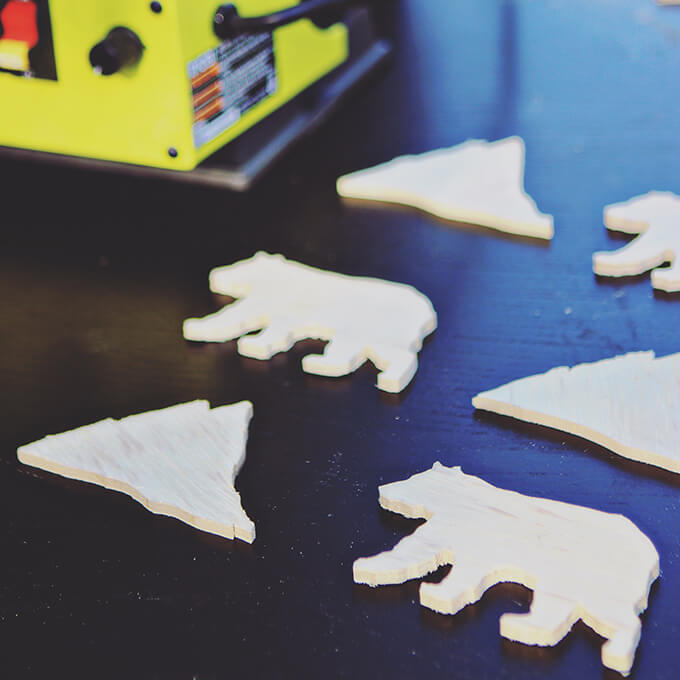
1. To create the wood pieces we drew a bear and mountains on a piece of paper and cut it out to be our template. We traced three bears and three mountains on 1/8″ birch plywood.
We used our scroll saw to cut out each of the six pieces.
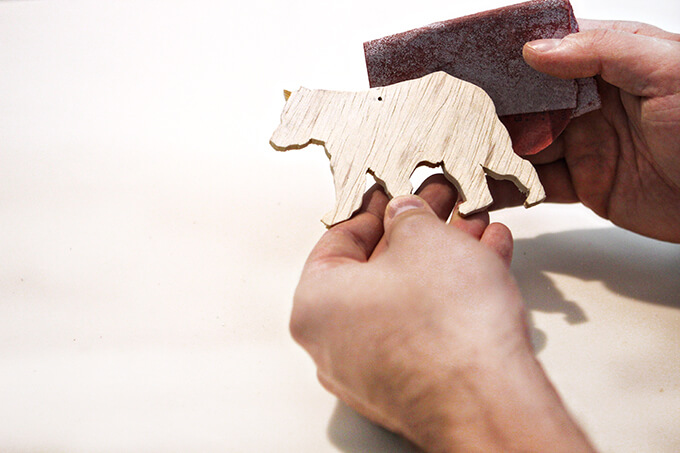
2. Next, we sanded the edge of each piece so it was smooth. We also drilled one small hole in the top or two small holes in the top and bottom of each piece. The pieces that have one hole on the top are the pieces that will be at the bottom of each row.
You may notice that going forward in our DIY woodland nursery mobile tutorial, the bear mobile pieces and the mobile itself looks slightly different than the one we made for Brent’s sister in the woodland nursery.
That is because…
[A] We are making this tutorial after the fact and that mobile is currently hanging up in our nephew’s nursery.
Unfortunately, we didn’t document every step of making it beforehand.
[B] We had an idea for those who want to make their own nursery mobile but don’t have a scroll saw or want to invest in one. We made laser cut woodland animal wood mobile pieces to offer to our fellow DIY-ers!
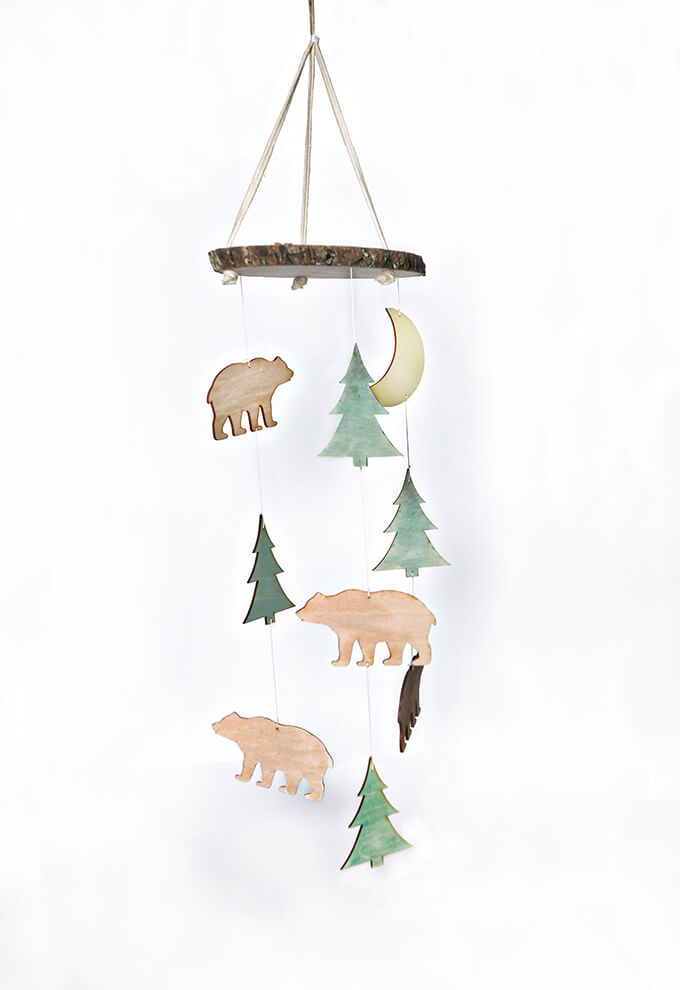
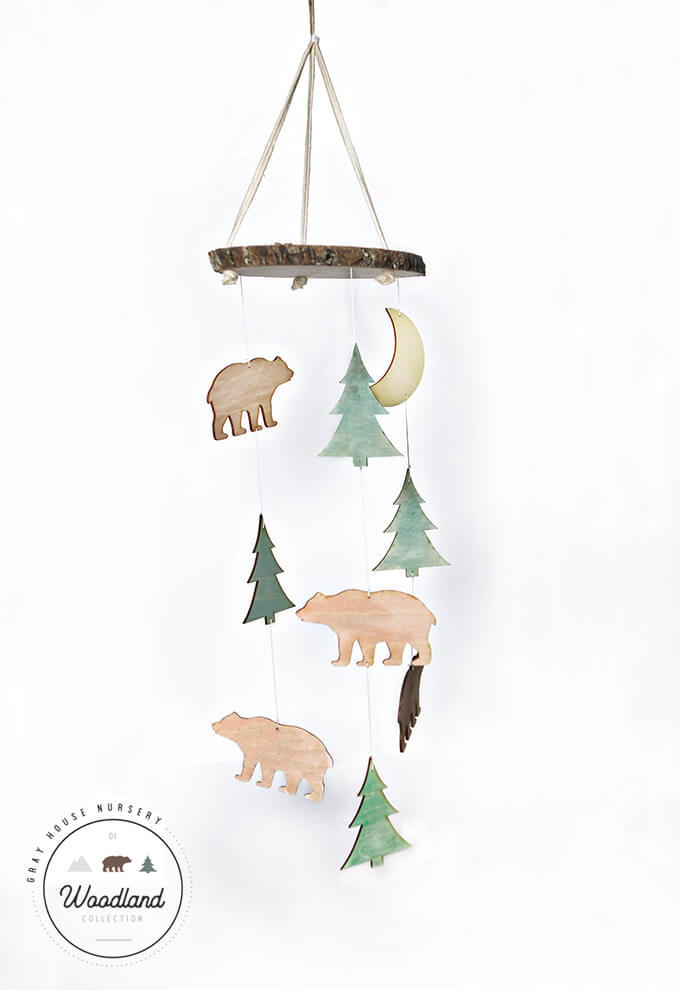
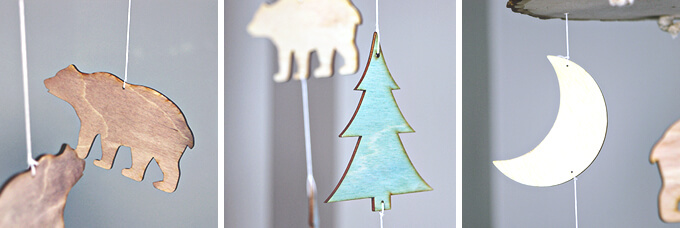
Above is an example of a woodland nursery mobile we made with wood pieces from our woodland collection. If you want to make your own shapes, you will need to tackle step 1 and 2. If you have our pre-cut wood shapes you can jump down to step 3.
How to Assemble the Woodland Nursery Mobile
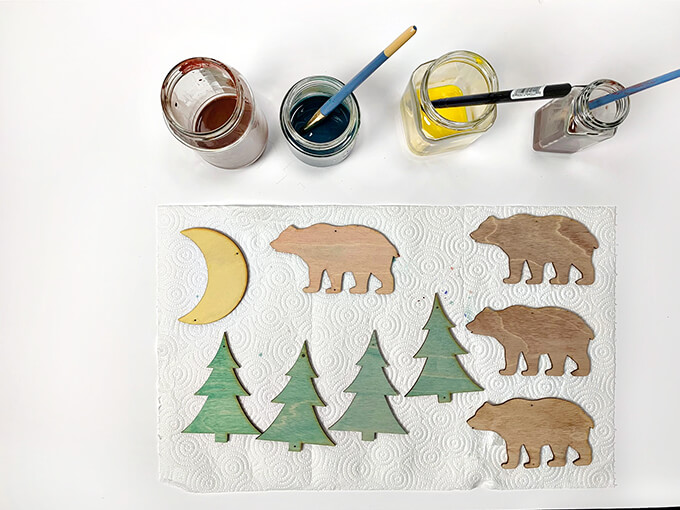
3. Depending on your aesthetic and preference, you could leave the pieces natural wood or stain them. For this example, we used a green acrylic paint and a brown acrylic paint and a yellow acrylic paint to color the pieces.
When we made the original DIY woodland nursery mobile we actually used watercolor paint to get the various tones.
To paint the pieces, we poured just a small amount of paint into separate glass jars and mixed it with a little bit of water to dilute it.
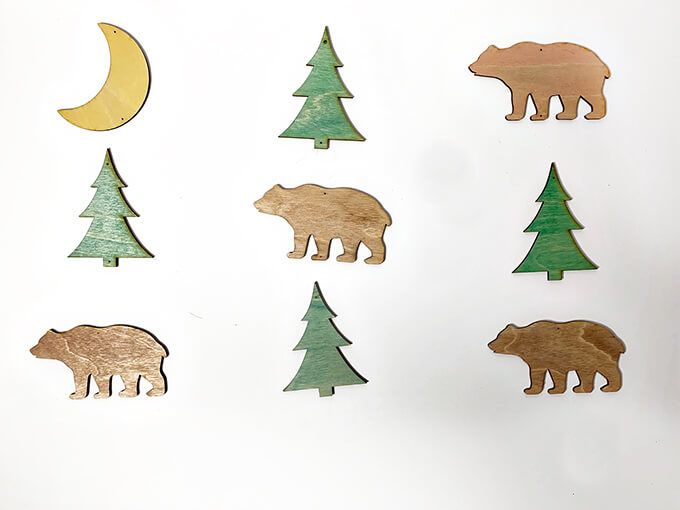
4. Once all the pieces were painted and dry, we laid them out in the pattern that we wanted to hang them.
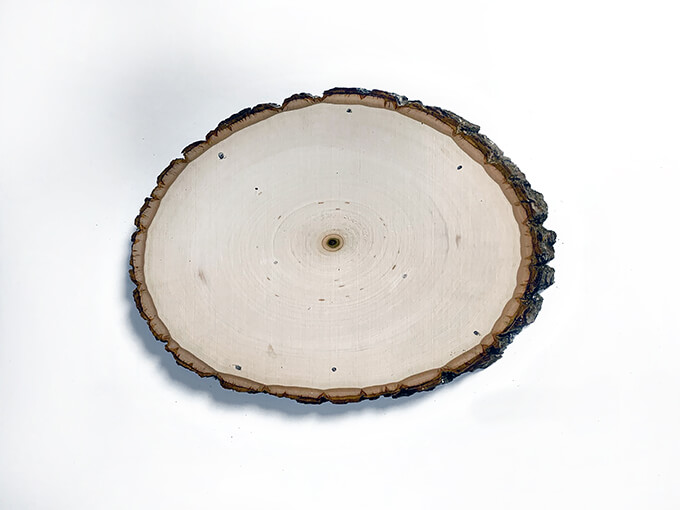
5. We purchased a wood slice to use as the top of the mobile. Using a pencil we drew three dots that make the shape of a triangle. These would be where we drill holes to hang the mobile from the ceiling.
Then, we drew three more circles to form an upside down triangle. These would be where we would drill the holes to hang the wood pieces.

6. Next, we used a 1/4″ drill bit to drill the first set of holes (triangle) for the thicker rope.
We used a 1/8″ drill bit to drill the second set of holes (Upside down triangle) for the thin cotton rope that holds the wood pieces.
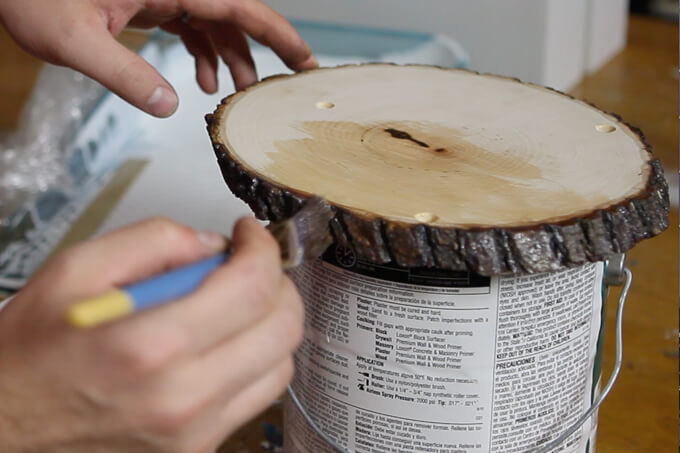
7. After that, we painted Wood Classics Waterborne polyurethane varnish over the entire wood slice to seal it and keep any bark from flaking off since it would be going over the crib. We did this on our son’s mobile too and it worked really well.
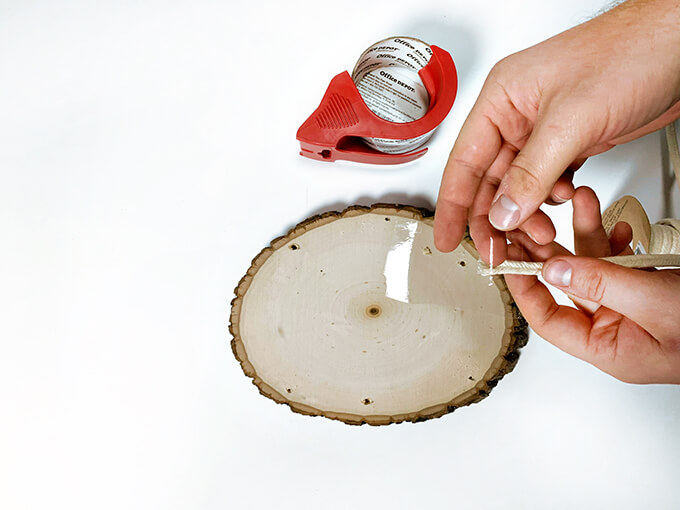
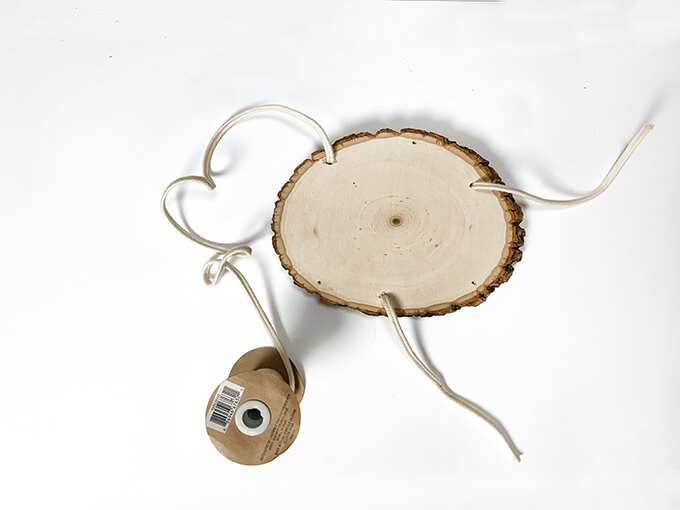
8. Then, we took a piece of clear packing tape and wrapped it around the end of the 5mm cotton rope that we would be using to hang the mobile.
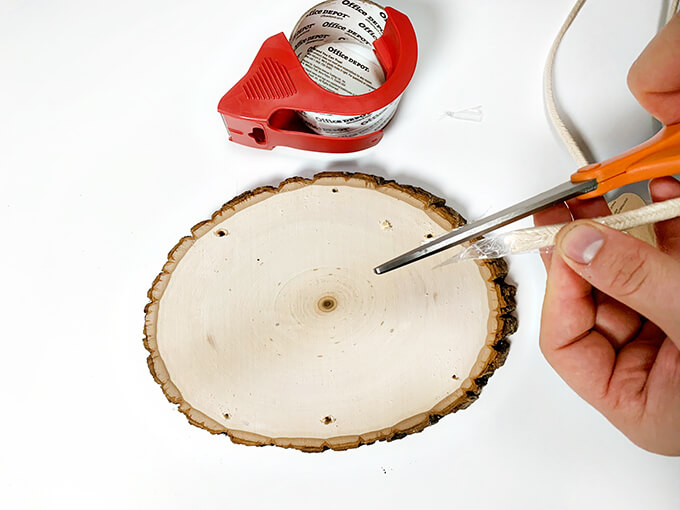
9. Once we wrapped the tape around, we cut it to a point.
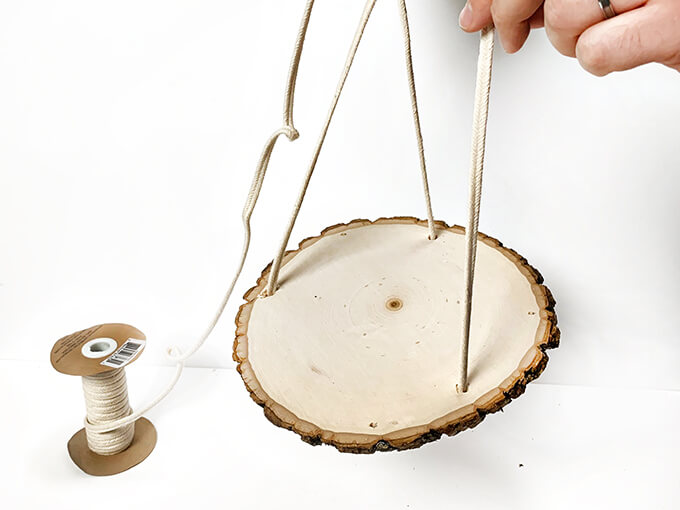
10. This makes it easier to thread it through the holes in the wood slice.
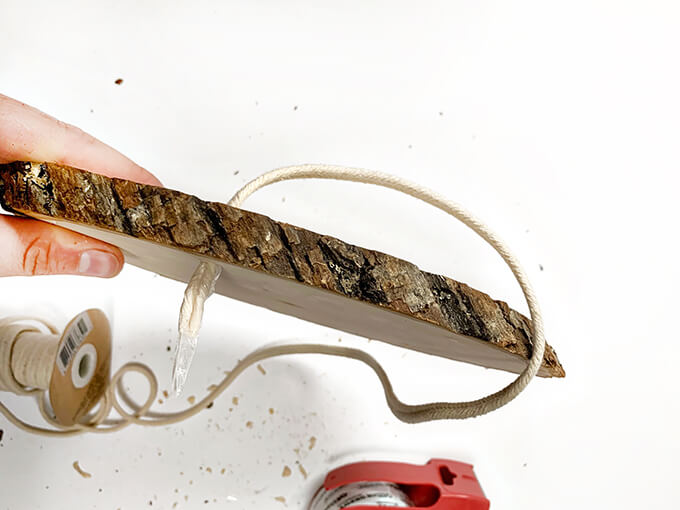
11. We pulled the rope through the hole, tied a knot on the bottom side of the wood slice, and cut off the excess rope.
12. We repeated the previous four steps for the other two holes.
For the third hole, we did the same steps but did not cut the rope on the top side of the wood slide.
This is what our wood slice looked like at this point from the top.
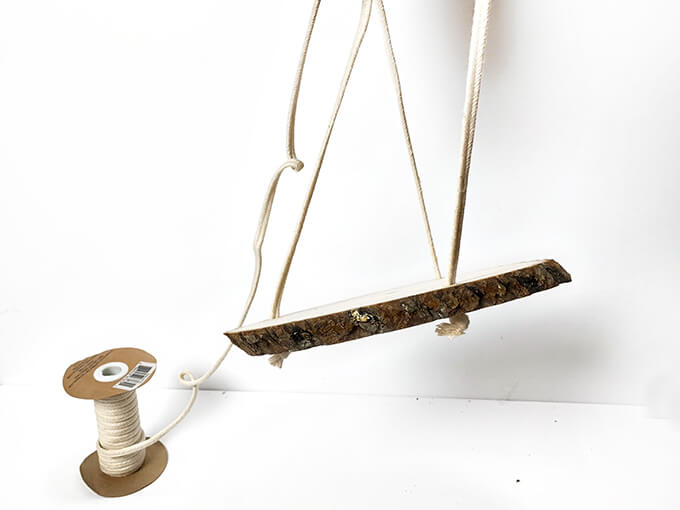
This is what it looks like from the bottom.
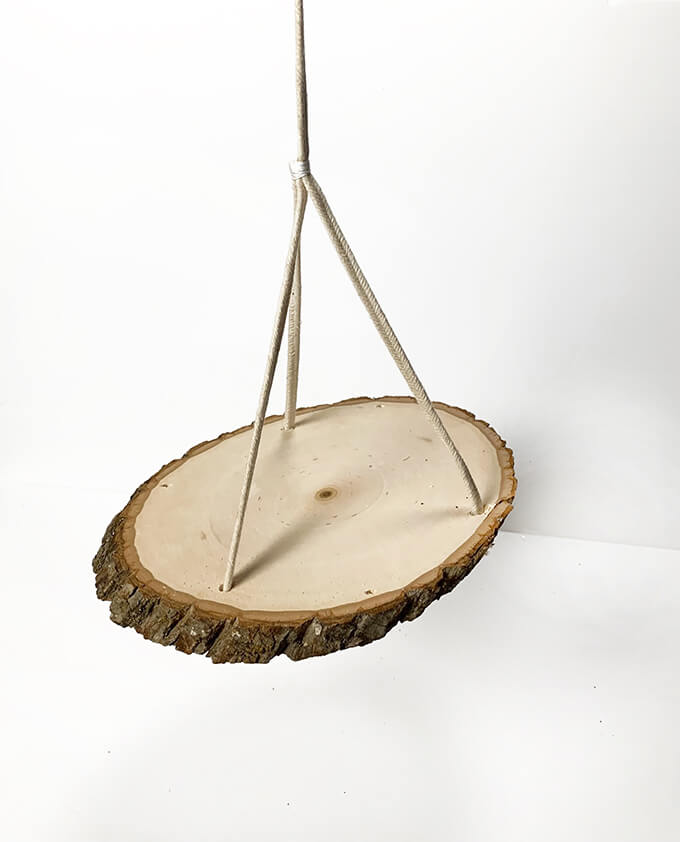
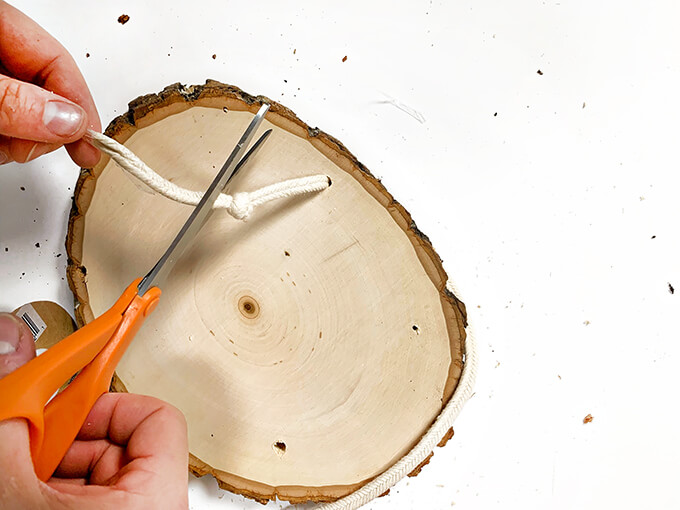
13. We used a small piece of the white cotton thread and made a common whipping knot to attach the three pieces of the thicker rope together.
We cut off the excess rope outside the knot but waited to cut the long rope until we hung it up.
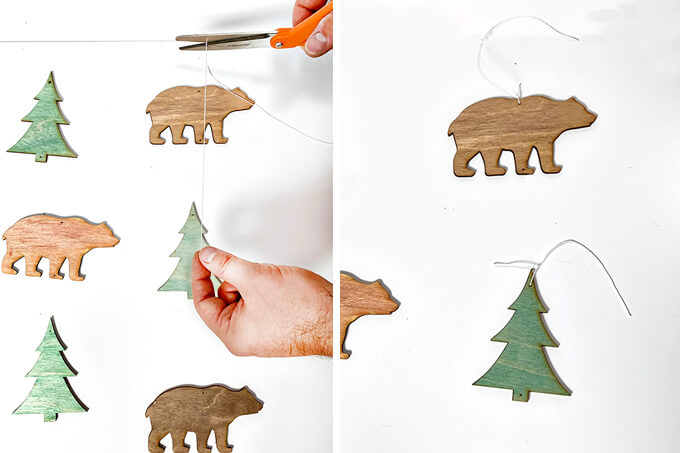
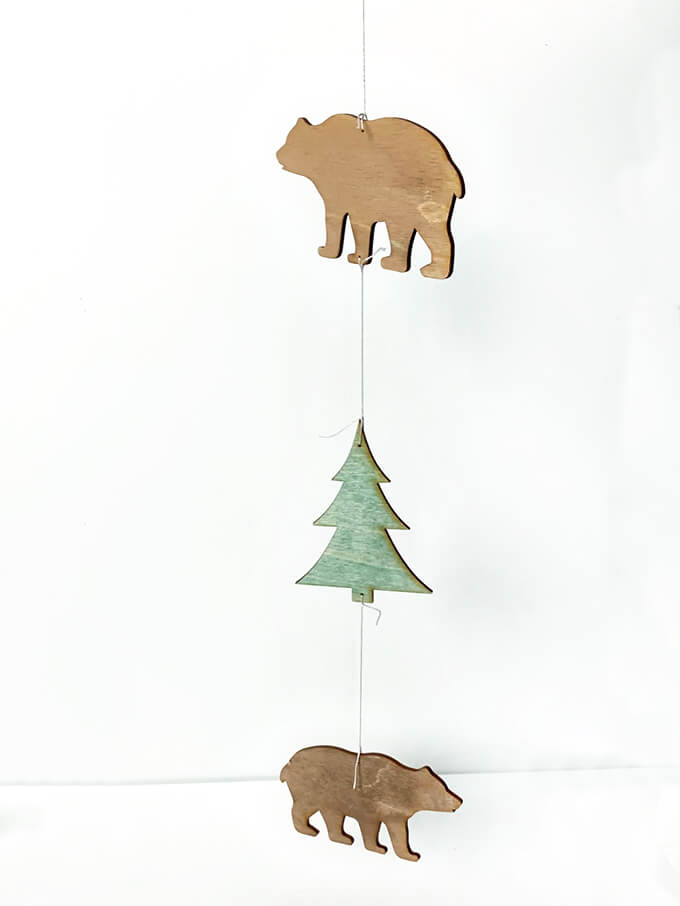
14. Going back to the mobile pieces, we used the white cotton thread to string together the wood bear and wood tree pieces.
We measured the distance we wanted the pieces to hang from the top wood slice and each other and then cut separate pieces of the thread to attach them together.
We did it this way so the thread did not run across the wood pieces.
Since the mobile pieces move, you can see both the front and back and we didn’t want anything blocking them.
After we had the three pieces attached, we trimmed the excess string.
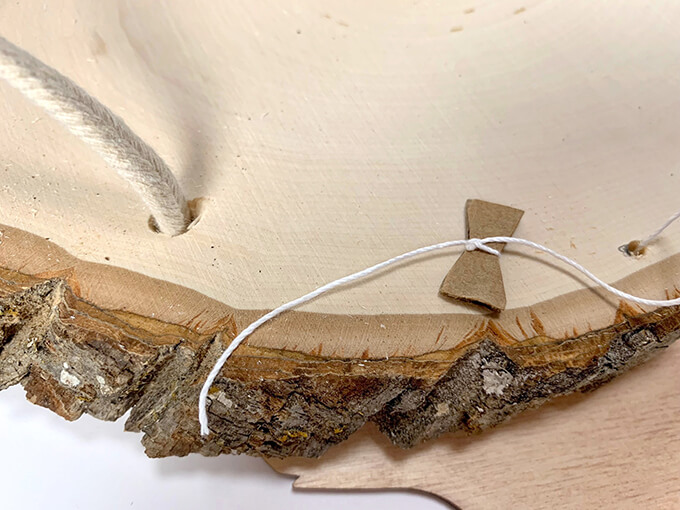
15. Finally, we ran the thread through the holes in the wood slice top piece.
To attach our string of wood mobile pieces to the top wood piece, we used little pieces of cardboard cut in the shape of bowties and tied the thread on it using a square knot.
We repeated this step for the other two strings, varying the lengths they hung from the top slice of wood.
Aren’t little whimsical nursery mobiles the best!? I just love this sweet little DIY woodland nursery mobile that we made. I also love Connor’s mobile and our nephew’s mobile. They all have their own personality.
The best part about making them yourself is you have full control over the design to make sure the style and colors fit your nursery theme.
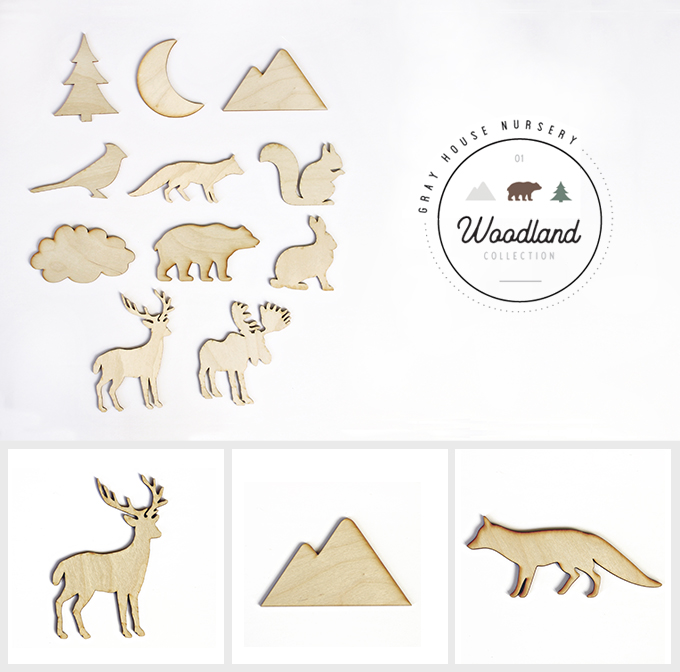
PRE-CUT WOOD MOBILE PIECES
We LOVE nursery design and are excited about the opportunity to provide crafty parents-to-be with the option to easily create and customize their own DIY nursery mobiles.
We sat down and started thinking about what that would look like and cutting these wood mobile pieces for others to use seemed like the perfect solution!
We have our woodland collection available now and will be adding more soon to match other nursery themes. Click on the image below to learn more about our wood mobile pieces we offer.
PIN FOR LATER