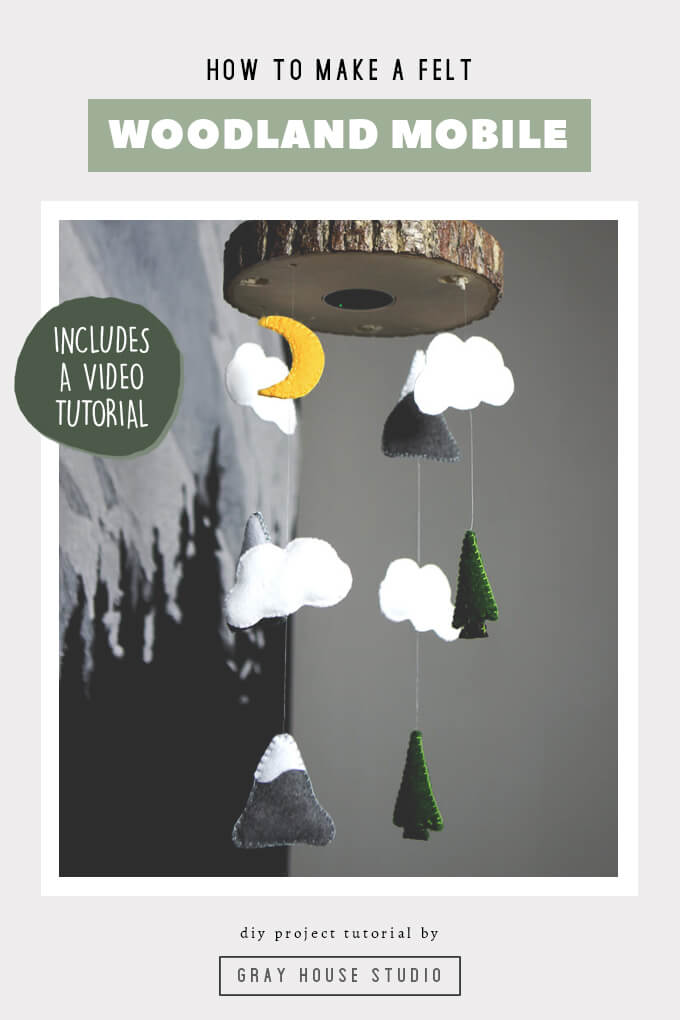
In this DIY tutorial we will show how we made our DIY woodland nursery mobile.
DIY Nursery Camera Mobile
Check out how to make a felt woodland DIY nursery camera mobile and how our nursery camera integrates with our home security system app for easy monitoring. This post is sponsored by Reliant but as always all opinions and content are 100% our own.
We have a fun DIY decor project to share with you today that combines crafting, sewing, power tools and technology.
Our latest project was to make a mobile for our baby’s modern outdoor nursery to hang above the crib.
We didn’t make just any mobile, we took it a step further and made a mobile with a camera built into it! Fun, right!?
Follow along as we show how we made our DIY nursery camera monitor mobile.
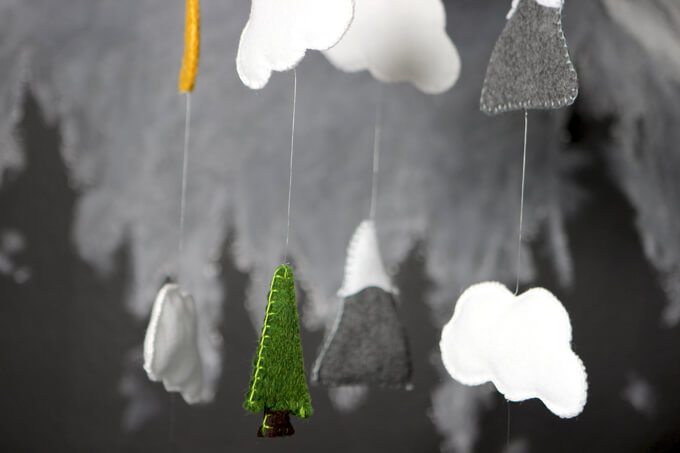
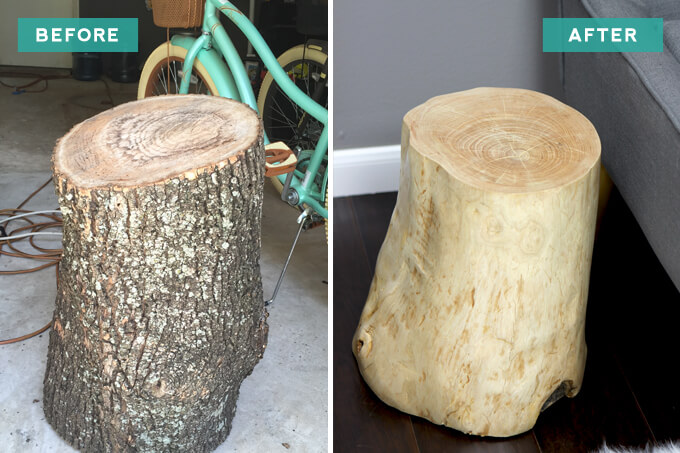
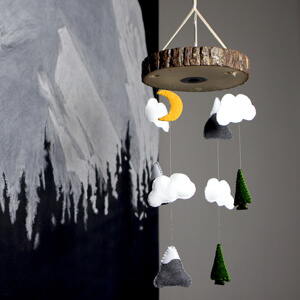
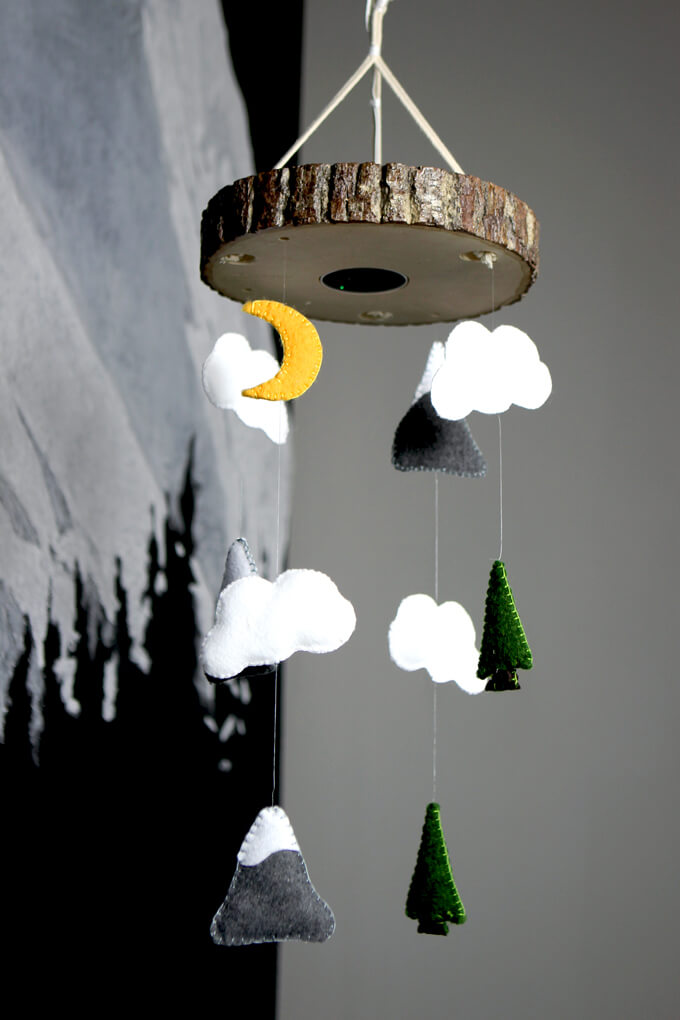
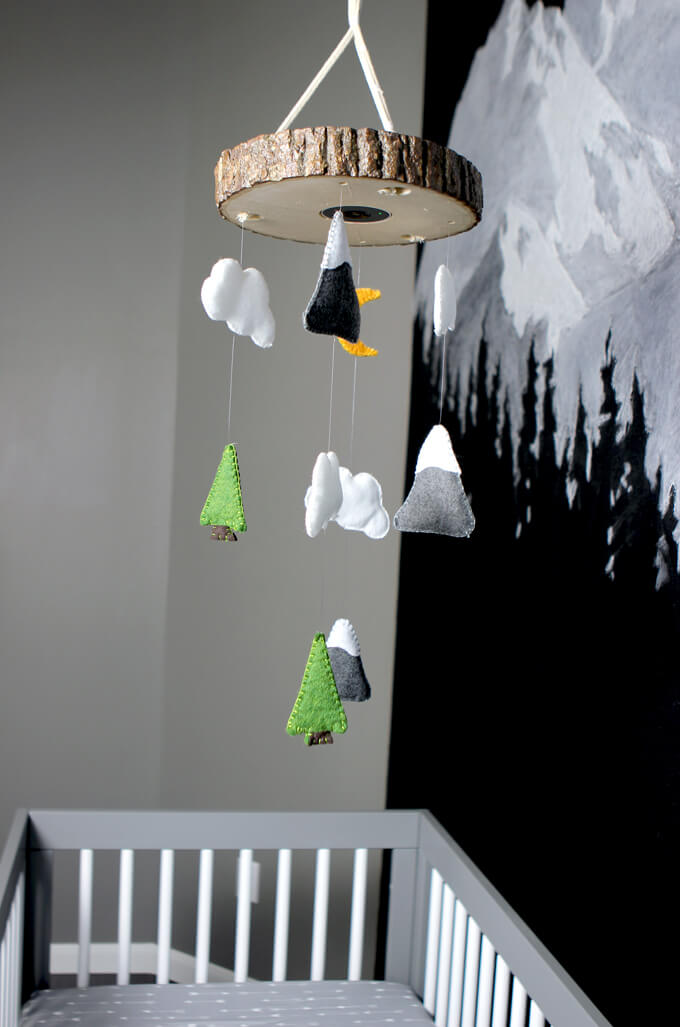
We wanted to make a whimsical mobile with little felt mountains, trees and clouds to fit with our outdoor/adventure nursery and it turns out a wood slice is the perfect place to hide a camera!
We recently upgraded the security system in our home to a Security by Reliant system and one of the products we got in our package was an indoor security camera.
We knew we wanted to use it as a nursery camera but we didn’t want to just mount the camera to the wall, we wanted to try and find a unique solution to incorporate it into the decor.
Brent came up with the idea to hide the camera into the mobile that we already planned on making.

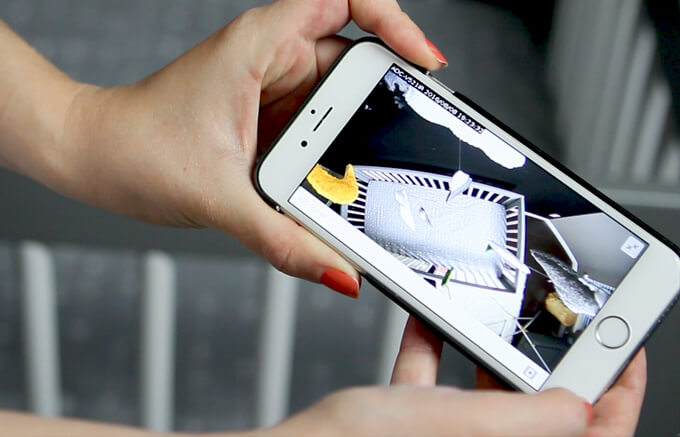
What we love about using a camera that is tied into our security system is we can use the same Reliant Connect App to monitor our nursery as we use to monitor and control the rest of our home making it really convenient.
If you are interested in making a DIY nursery camera mobile or are just curious to see how we made ours, we have a video tutorial and step by step guide below for you to check out.

HOW TO MAKE A DIY Nursery Camera Mobile
SUPPLIES
- Wool Blend Felt Sheets (green, yellow, white, gray, and brown)
- Shape templates
- Scissors
- (1) bag of low loft batting
- Embroidery needles
- Embroidery floss (green, yellow, white, gray, and brown)
- Clear string
- Cording
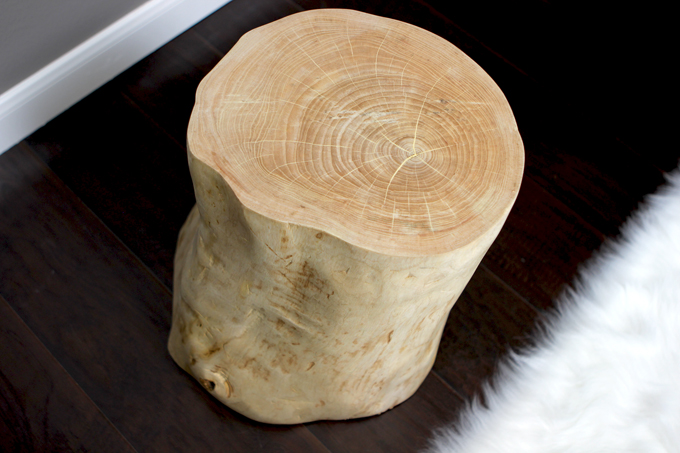
- 1-5/8 inch piece of round basswood
- Indoor security camera
- Drill
- Router
FYI: This post contains a few affiliate links to products we used to make this project. Gray House Studio does receive commissions for sales from these links but at no extra cost to you. We appreciate you supporting this site. Read our privacy and disclosure policy. You can also easily shop our recommended products here.
TUTORIAL VIDEO
STEPS
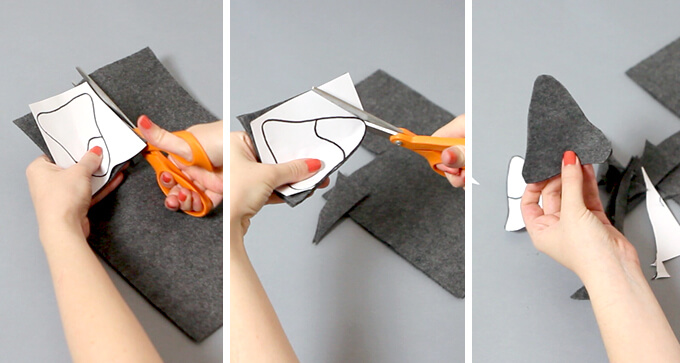
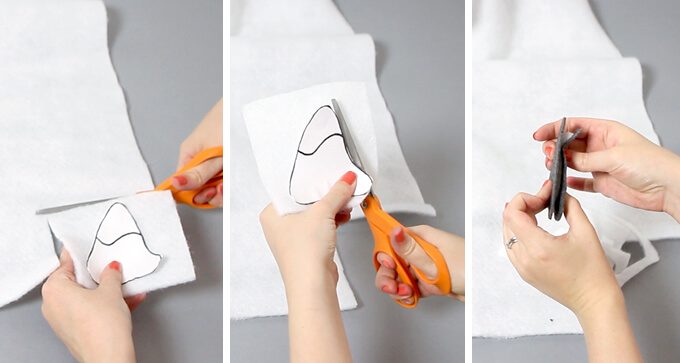
1. To begin we put two pieces of felt together and cut a square out of the felt the same size as our shape template.
This made it easier to cut the shape out. Once we cut the shape out of our colored felt sheet, these pieces became the front and back of our object.
2. For each object we cut out two layers of low loft batting in the same shape as each of our templates to go between the felt pieces.
To prevent the batting from sticking out of the felt pieces, we trimmed a small amount off the edge to make the batting pieces smaller than the felt pieces. We did this for all of our shapes.
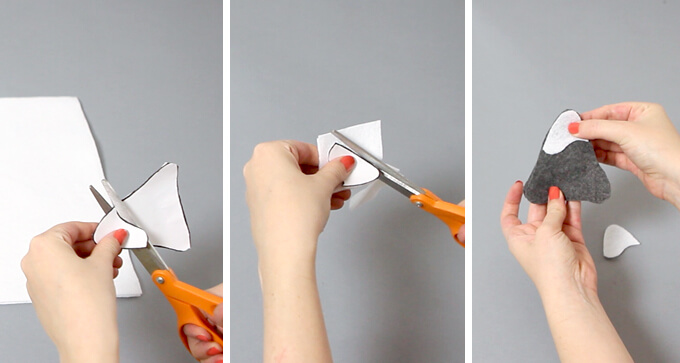
3. For the mountain shape we cut the top half of the template off and then cut that shape out of two pieces of white felt to create the snow on each side.
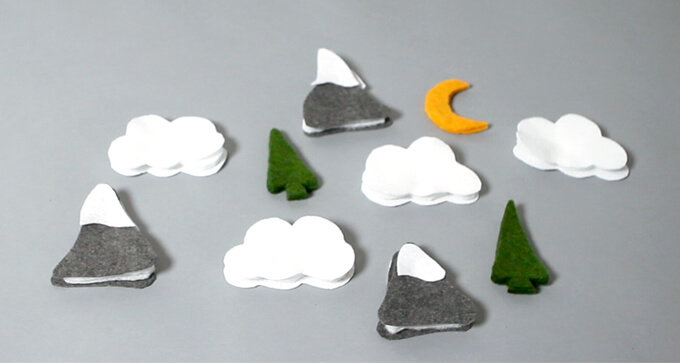
4. We repeated the steps above for each of our mobile objects. We made mountains, clouds, trees, and a moon.
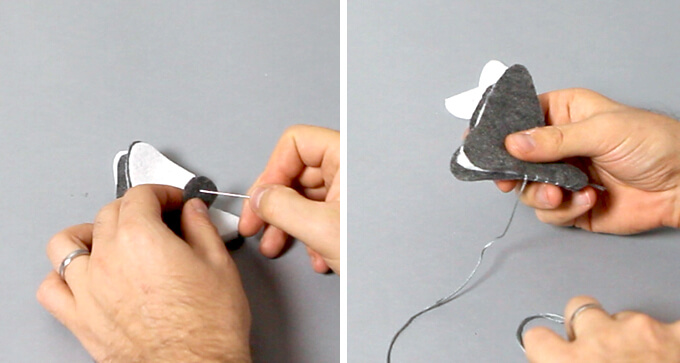
5. To sew each felt object we used a blanket stitch.
To do this we used an
We pushed the needle through the back piece of felt because we were sewing two pieces of felt together, the knot needed to go between the two pieces of felt.
Finally, we brought the needle back down through the loop we made. We repeated this process all the way around the object.
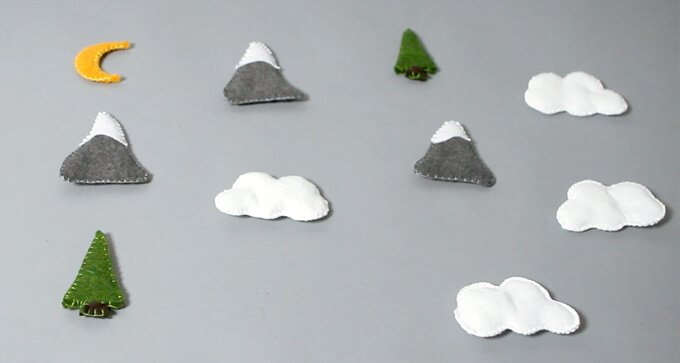
Here are what our mobile pieces looked like once they were all stitched up, so cute and whimsical. Now that I learned how to blanket stitch I want to make all sorts of cute little things for the nursery.
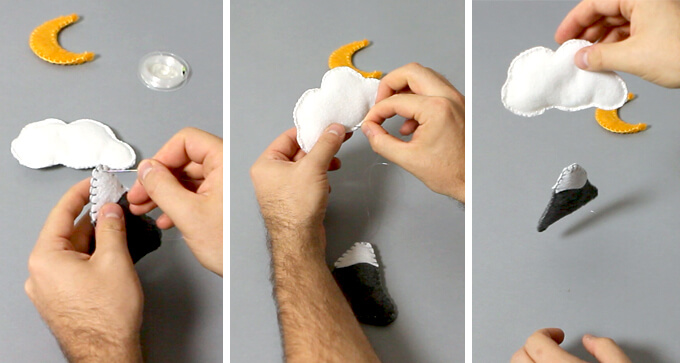
6. Once all the objects were sewn, we connected the shapes together using clear string.
We used a needle to thread the string through each object and tied a knot securing the string to each object. We left about 5 inches of string at the top to attach everything together.
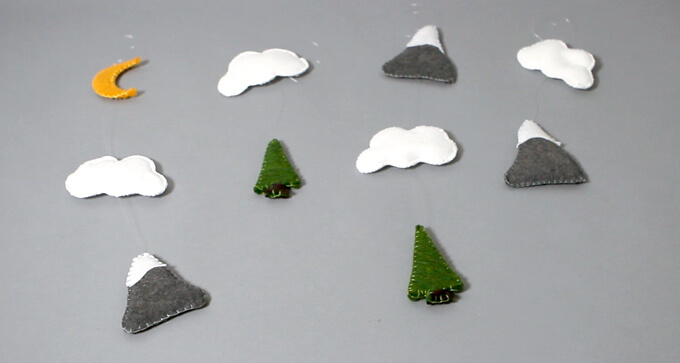
We attached two objects to two of the strings and three objects to two of the strings.
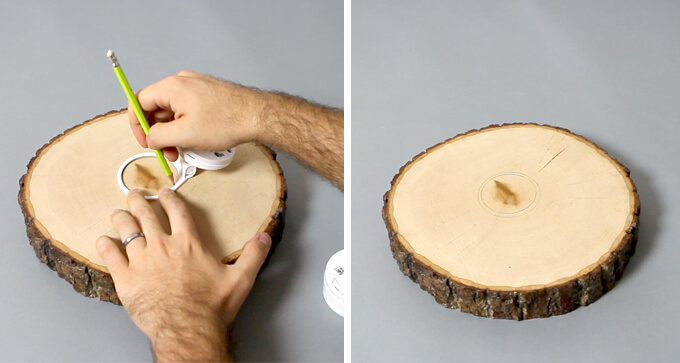
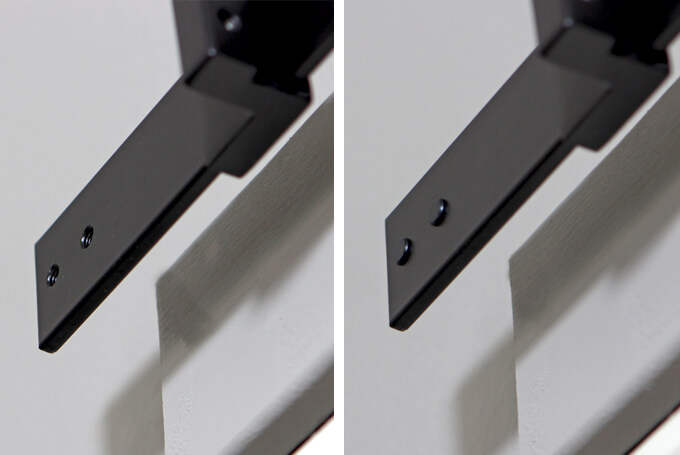
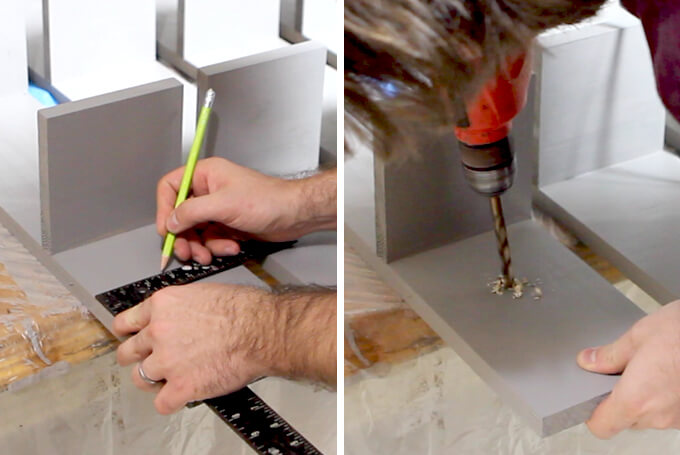
7. Before attaching anything to the wood slice, we needed to make a few holes in the wood. We used the camera mount that came with the camera to trace the size of the hole for the camera.
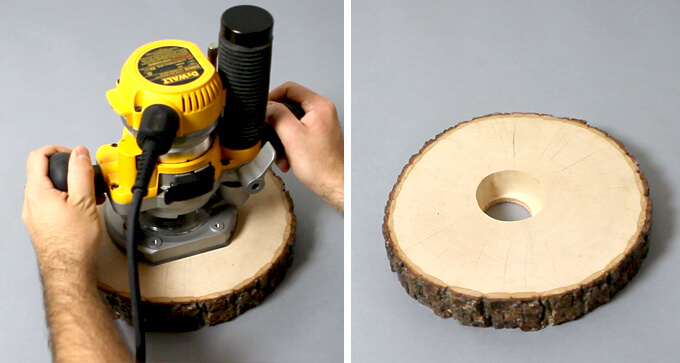
8. Then used a router with a plunge mount and cutting bit to make the hole for the camera.
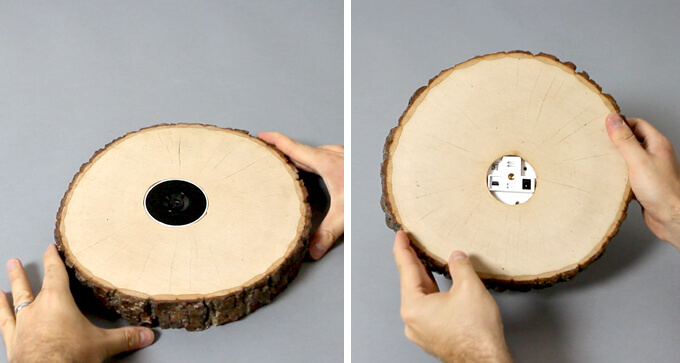
We test fit the security camera and it fit perfectly inside the wood slice.
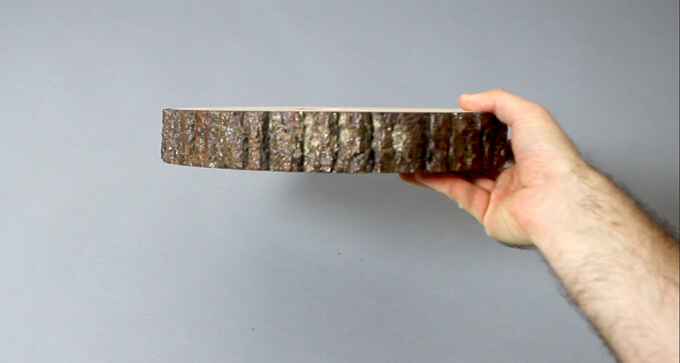
We used a slice of wood the same thickness as the camera so that when the mobile is suspended you will not be able to see the camera from the side view.
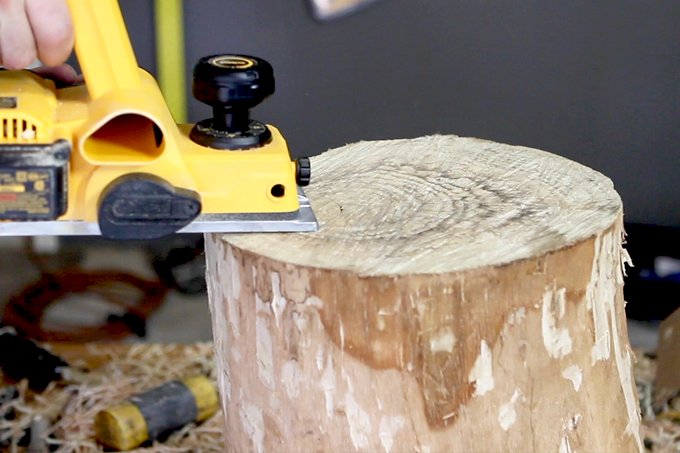
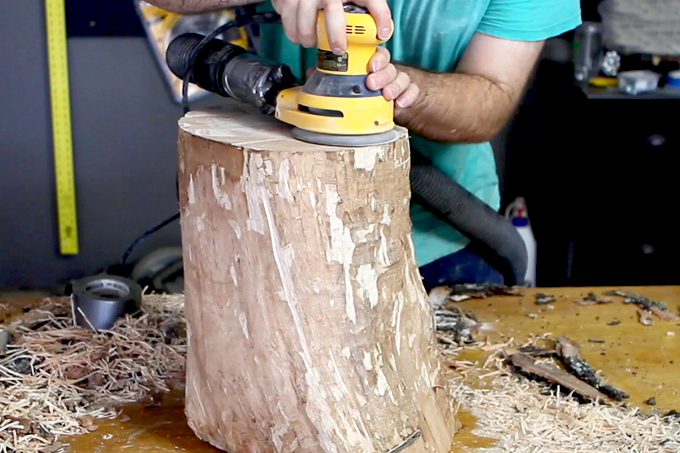
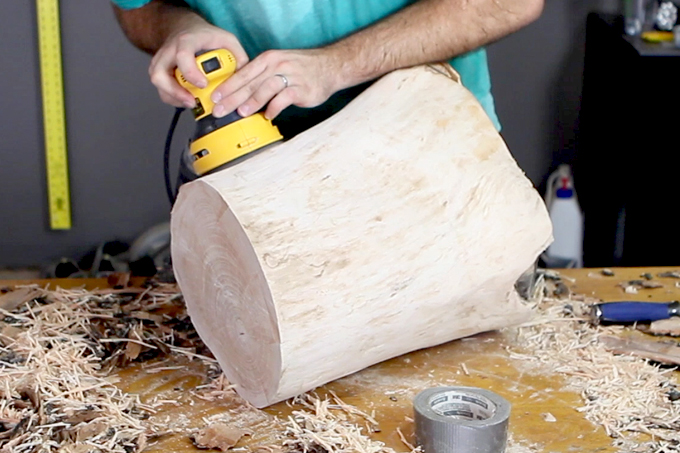
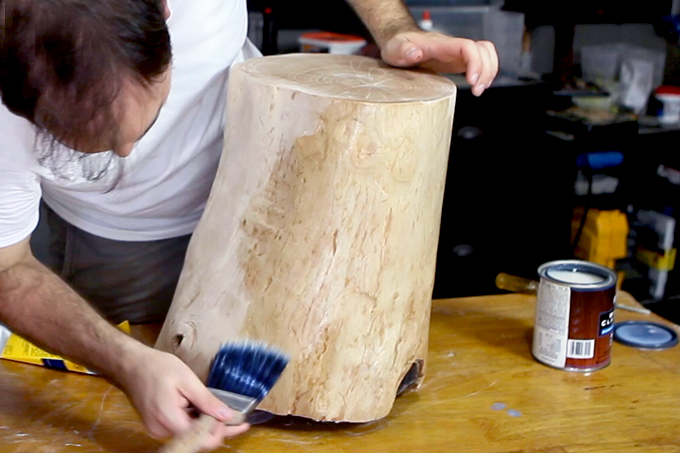
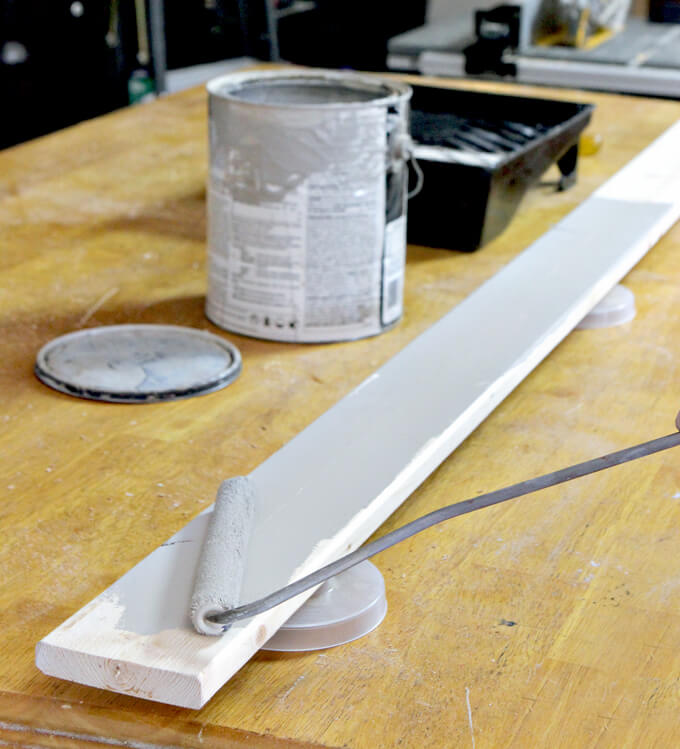
We should also point out that on the piece of wood we purchased the bark was flaking off a little. To make sure nothing fell off the wood into the crib, we sealed the wood slice before putting in the camera for good.
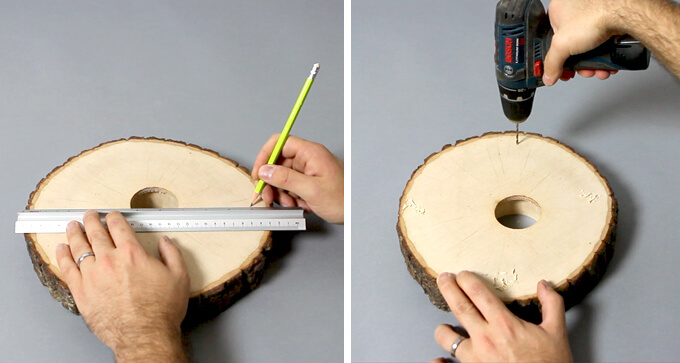
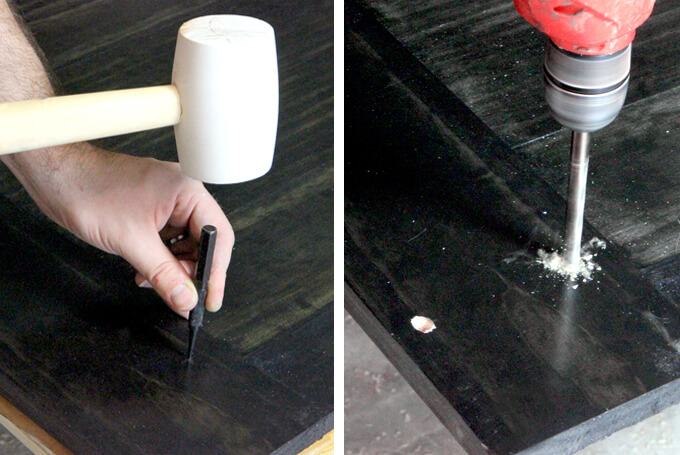
9. To make the holes for the clear string to suspend the objects, we used our drill to drill 1/16” holes spaced 1” from the edge.
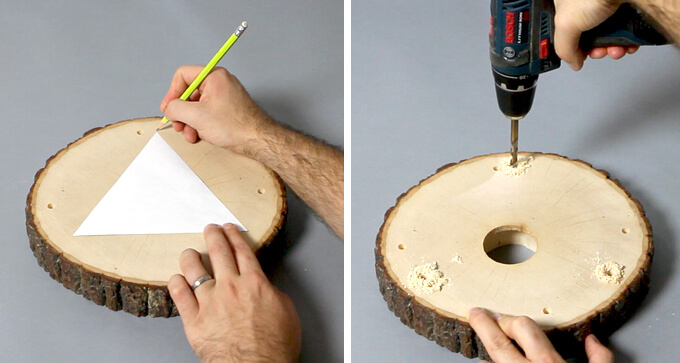
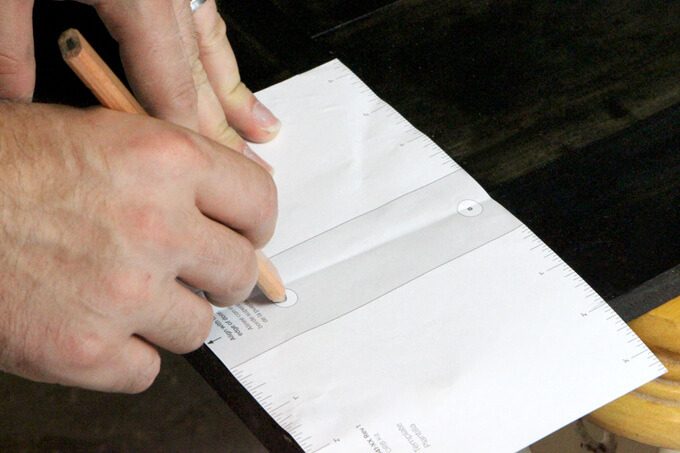
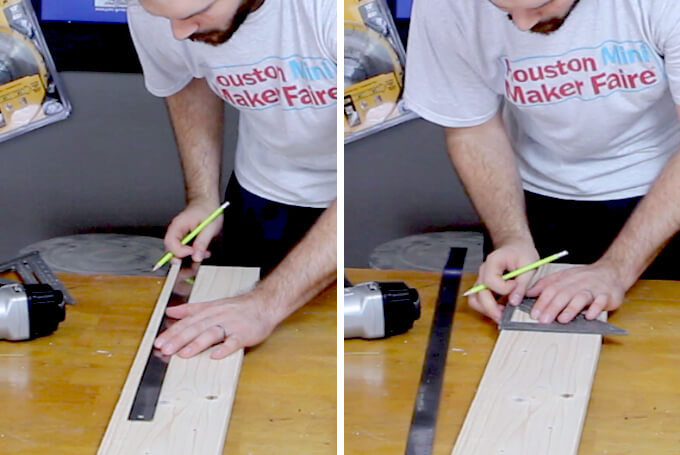
10. We used an equilateral triangle template to mark the holes where the ropes needed to go to hang the mobile and used a drill to drill ¼ inch holes for the rope.
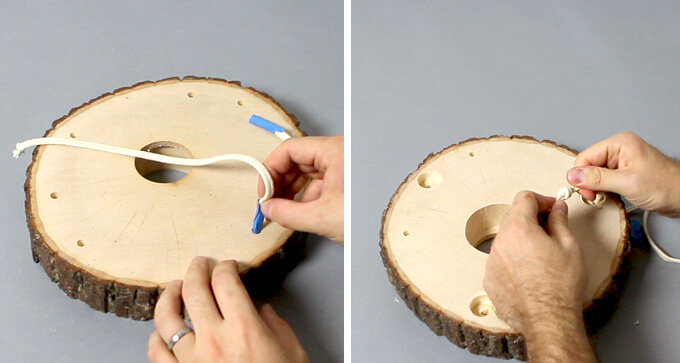
11. To prevent the cording from fraying we wrapped it in tape before cutting it to length.
Once cut to the length, we poked the cording through the large holes and tied a knot to keep it from pulling back through the hole.
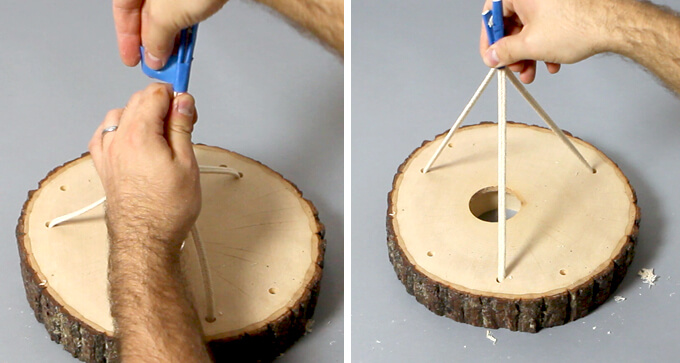
12. By holding the cording all at once we could level the wood so it would hang straight and then taped all the ropes together to temporarily keep everything in place.
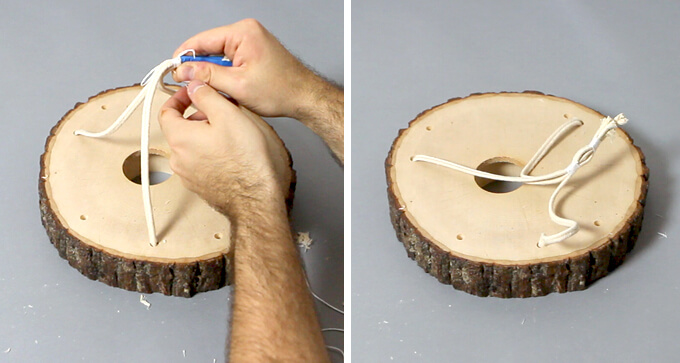
13. Using white embroidery floss, we wrapped the ropes up and tied a knot to permanently hold everything together.
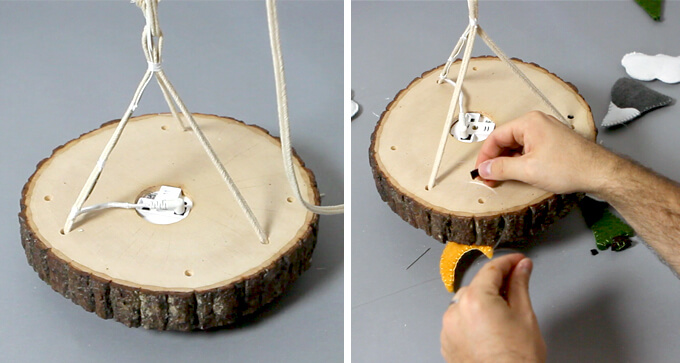
14. After putting the camera in the center hole and tying the camera’s power cable to the ropes, we were ready to suspend the objects from the wood slice to complete the mobile.
We did this by threading the clear line through the 1/16” holes and tying a knot in the top side of the wood to prevent the line from pulling through the hole.
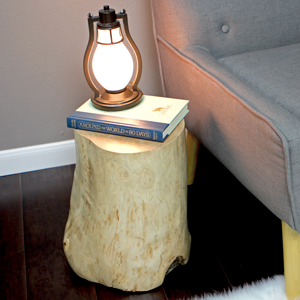
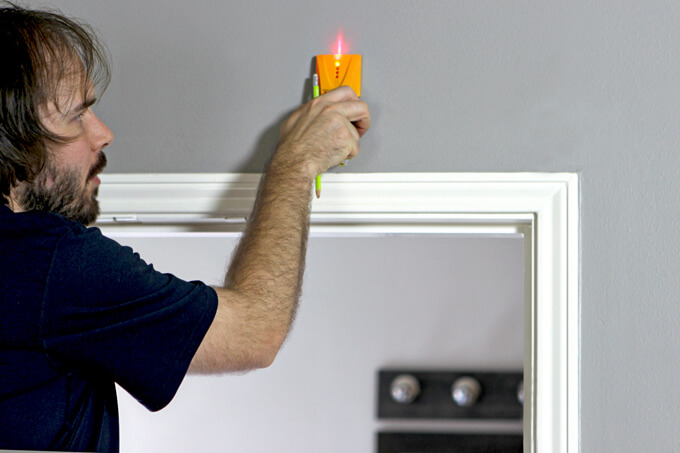
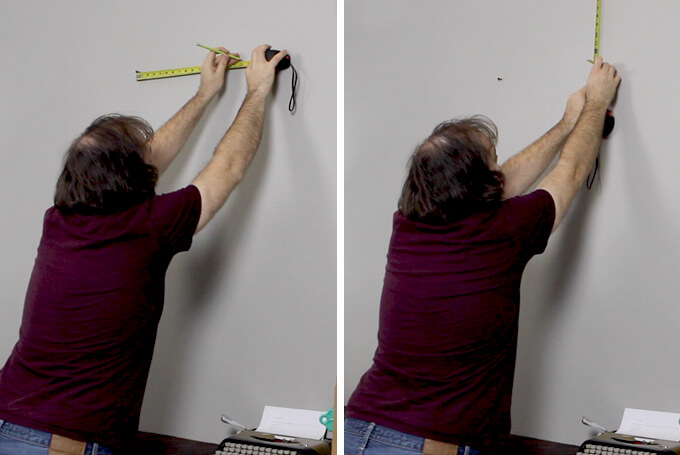
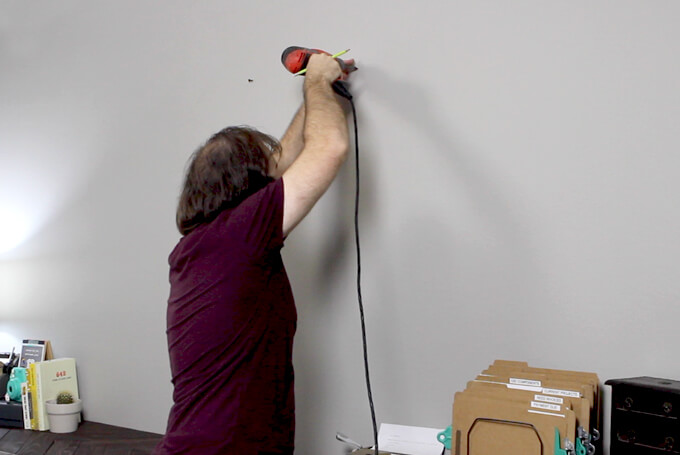
Once our DIY nursery camera mobile was finished, we hung it over the crib from an eye hook in a ceiling joist.

There is something really fun and satisfying about incorporating technology into things that you design and build. This DIY nursery camera mobile was not only enjoyable to make but I am sure we will get a lot of use out of what would otherwise have been just a decor piece.
PIN FOR LATER